Pour Painting - the cheap and easy way to do it!
 Pour Painting seems to be all the rage right now – we keep seeing them at craft shows and online. Here’s our budget friendly take on how to do it at home!
First of all, you need a pouring medium to do this….if you go to the craft store and get one, it’s really pricey. And of course it’s on sale so you can’t use a coupon. I researched online and found you can use mod podge – so we tested it and it works! I even use a knock off brand of it and it works great! You can use the coupons on that one at Michaels, so it’s not super expensive. For the paints, you can use any acrylic ones – the dollar store has a lot of them. Same with canvases – lots of deals everywhere on those too. Get some stir sticks of some sort and some plastic cups and you are all set!
Best to head outside for this as it can get pretty messy – even for adults. You don’t want to worry about the whole cup pouring out inside the house full of paint and glue!
To get started, make a mix of about 3/4 parts mod podge (or knockoff) and 1/4 water. Mix it up really well.
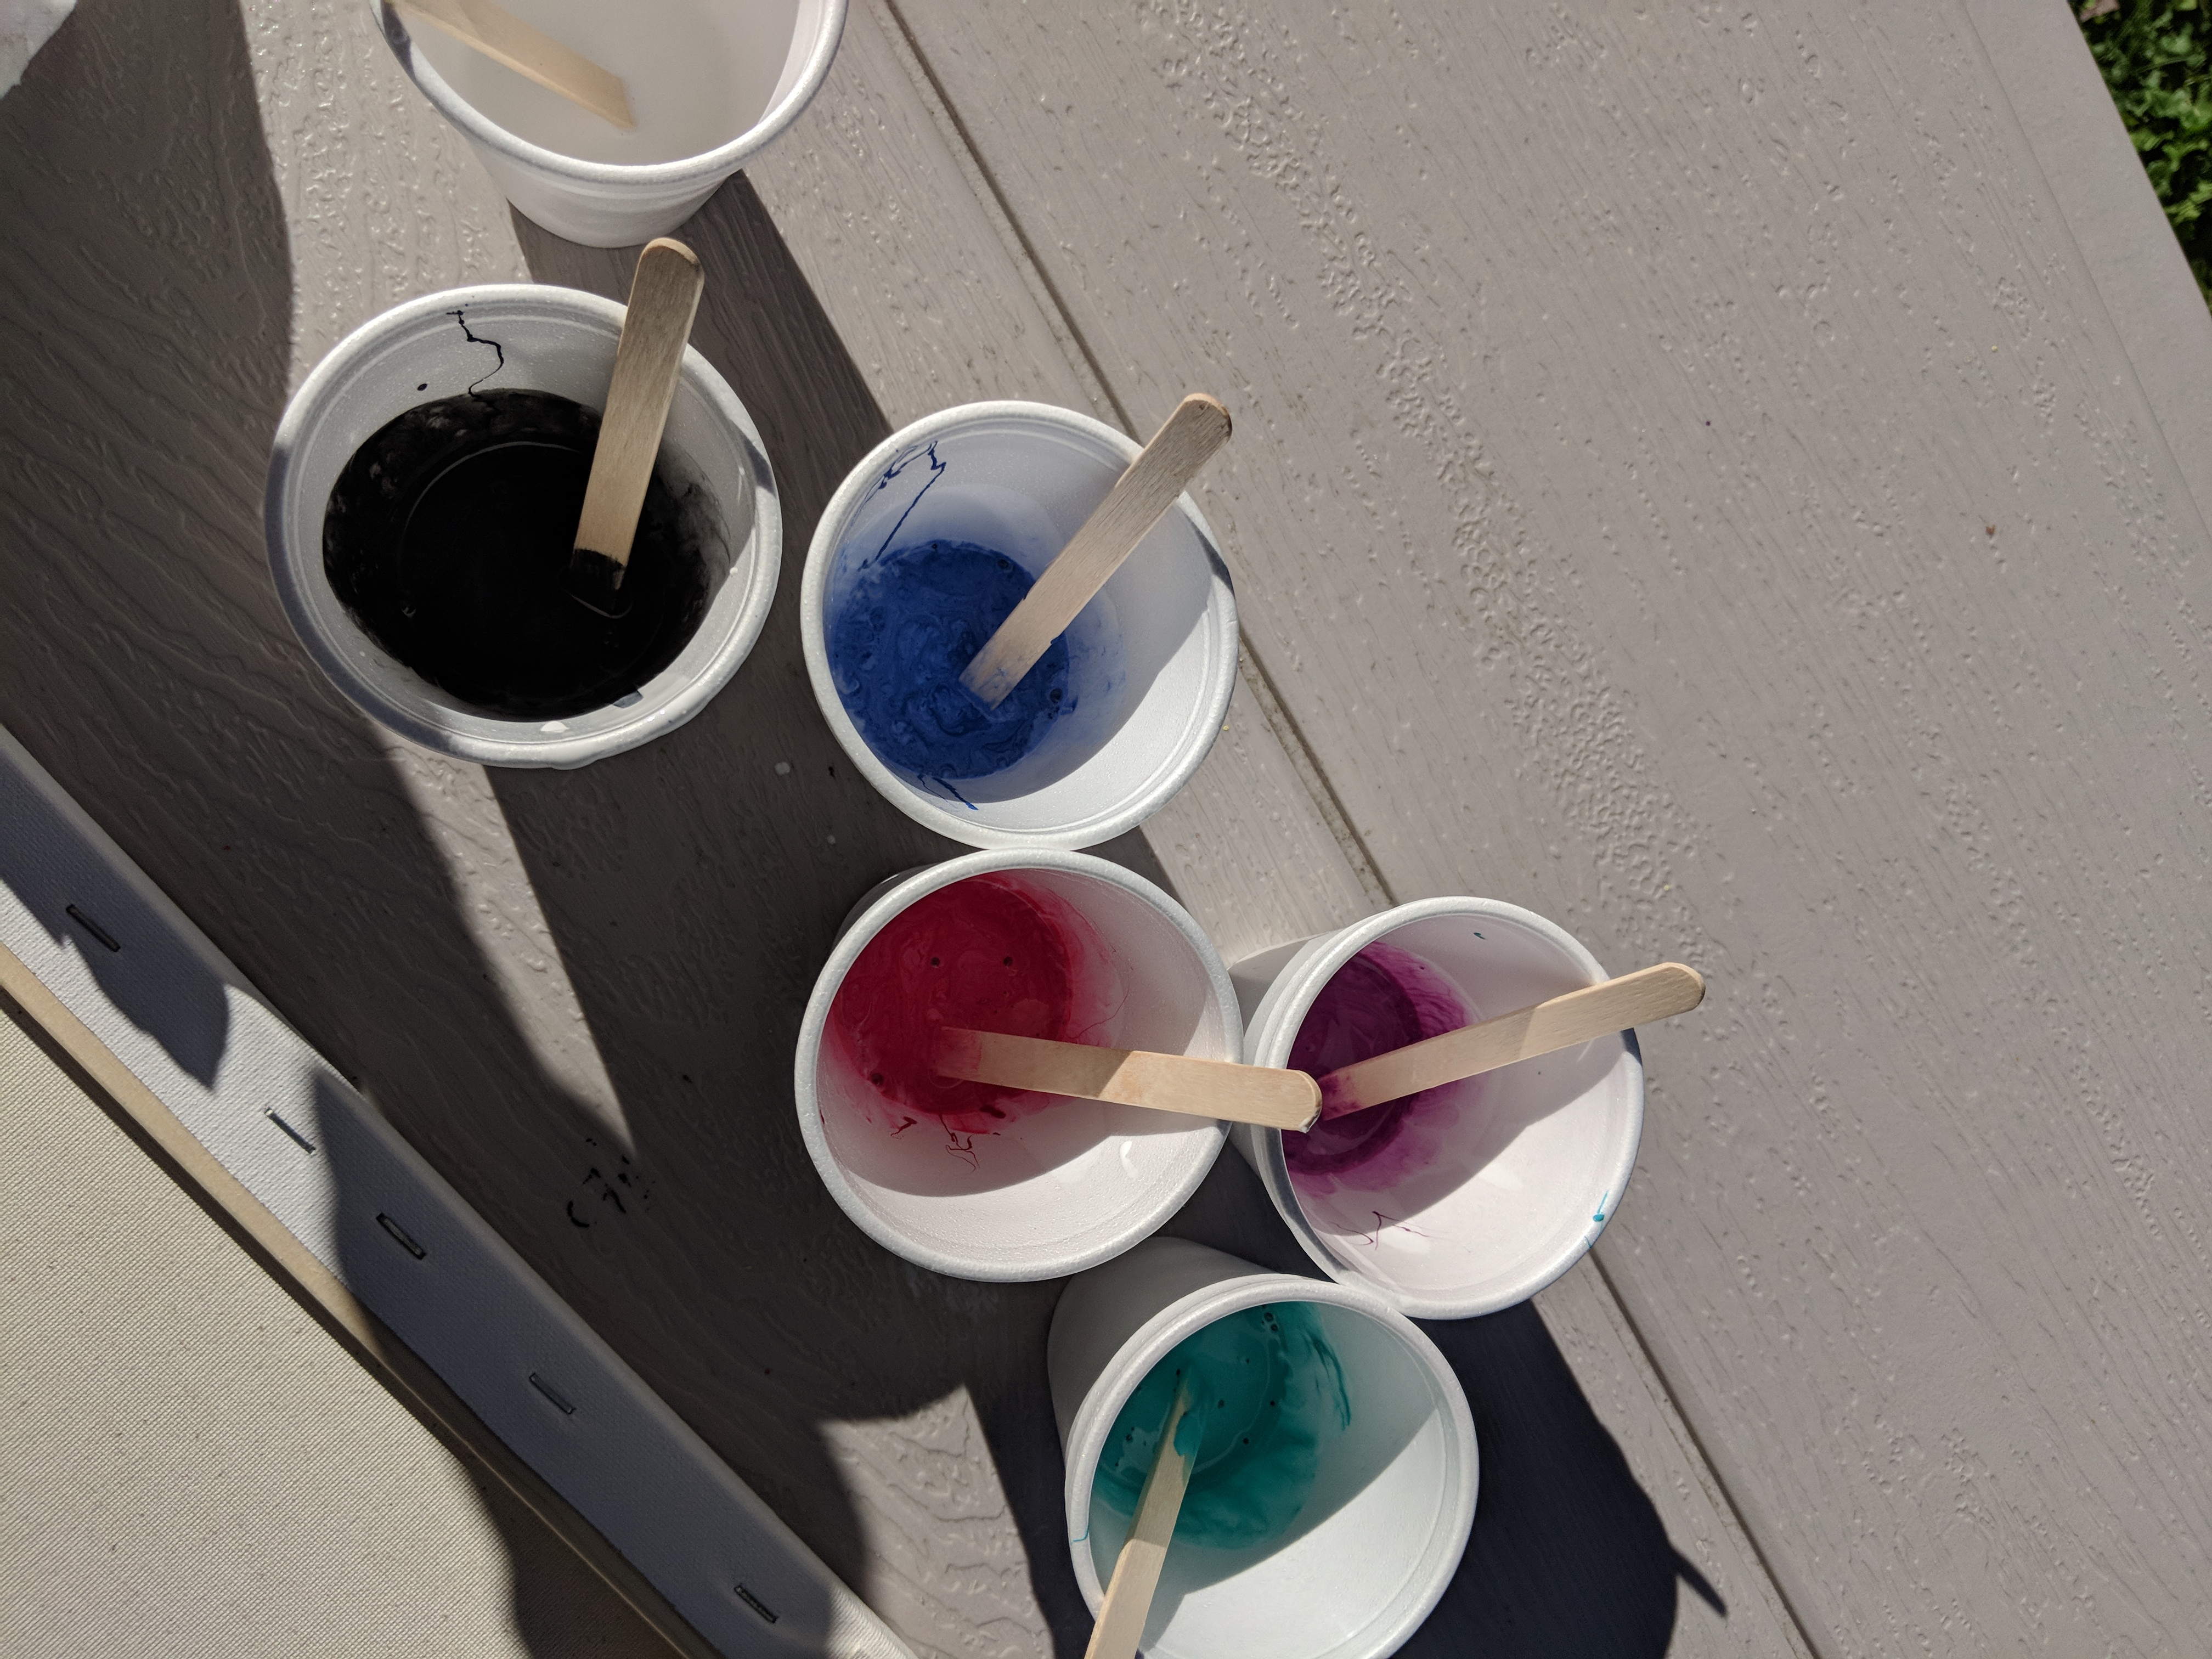
 Put a bit of paint (I use about half paint half glue mix) in your cups and seperate it by colour, then add the glue mix. Depending on the size of your canvas, just adjust how much you use. Mix the glue and paint really well.
I start with the darkest colour in the cup (not sure if that helps, but it seems to make sense) and then start adding your other colours to it. Don’t stir those ones up as you are layering them in. Make sure you have a big enough cup for the one to be used at the end.
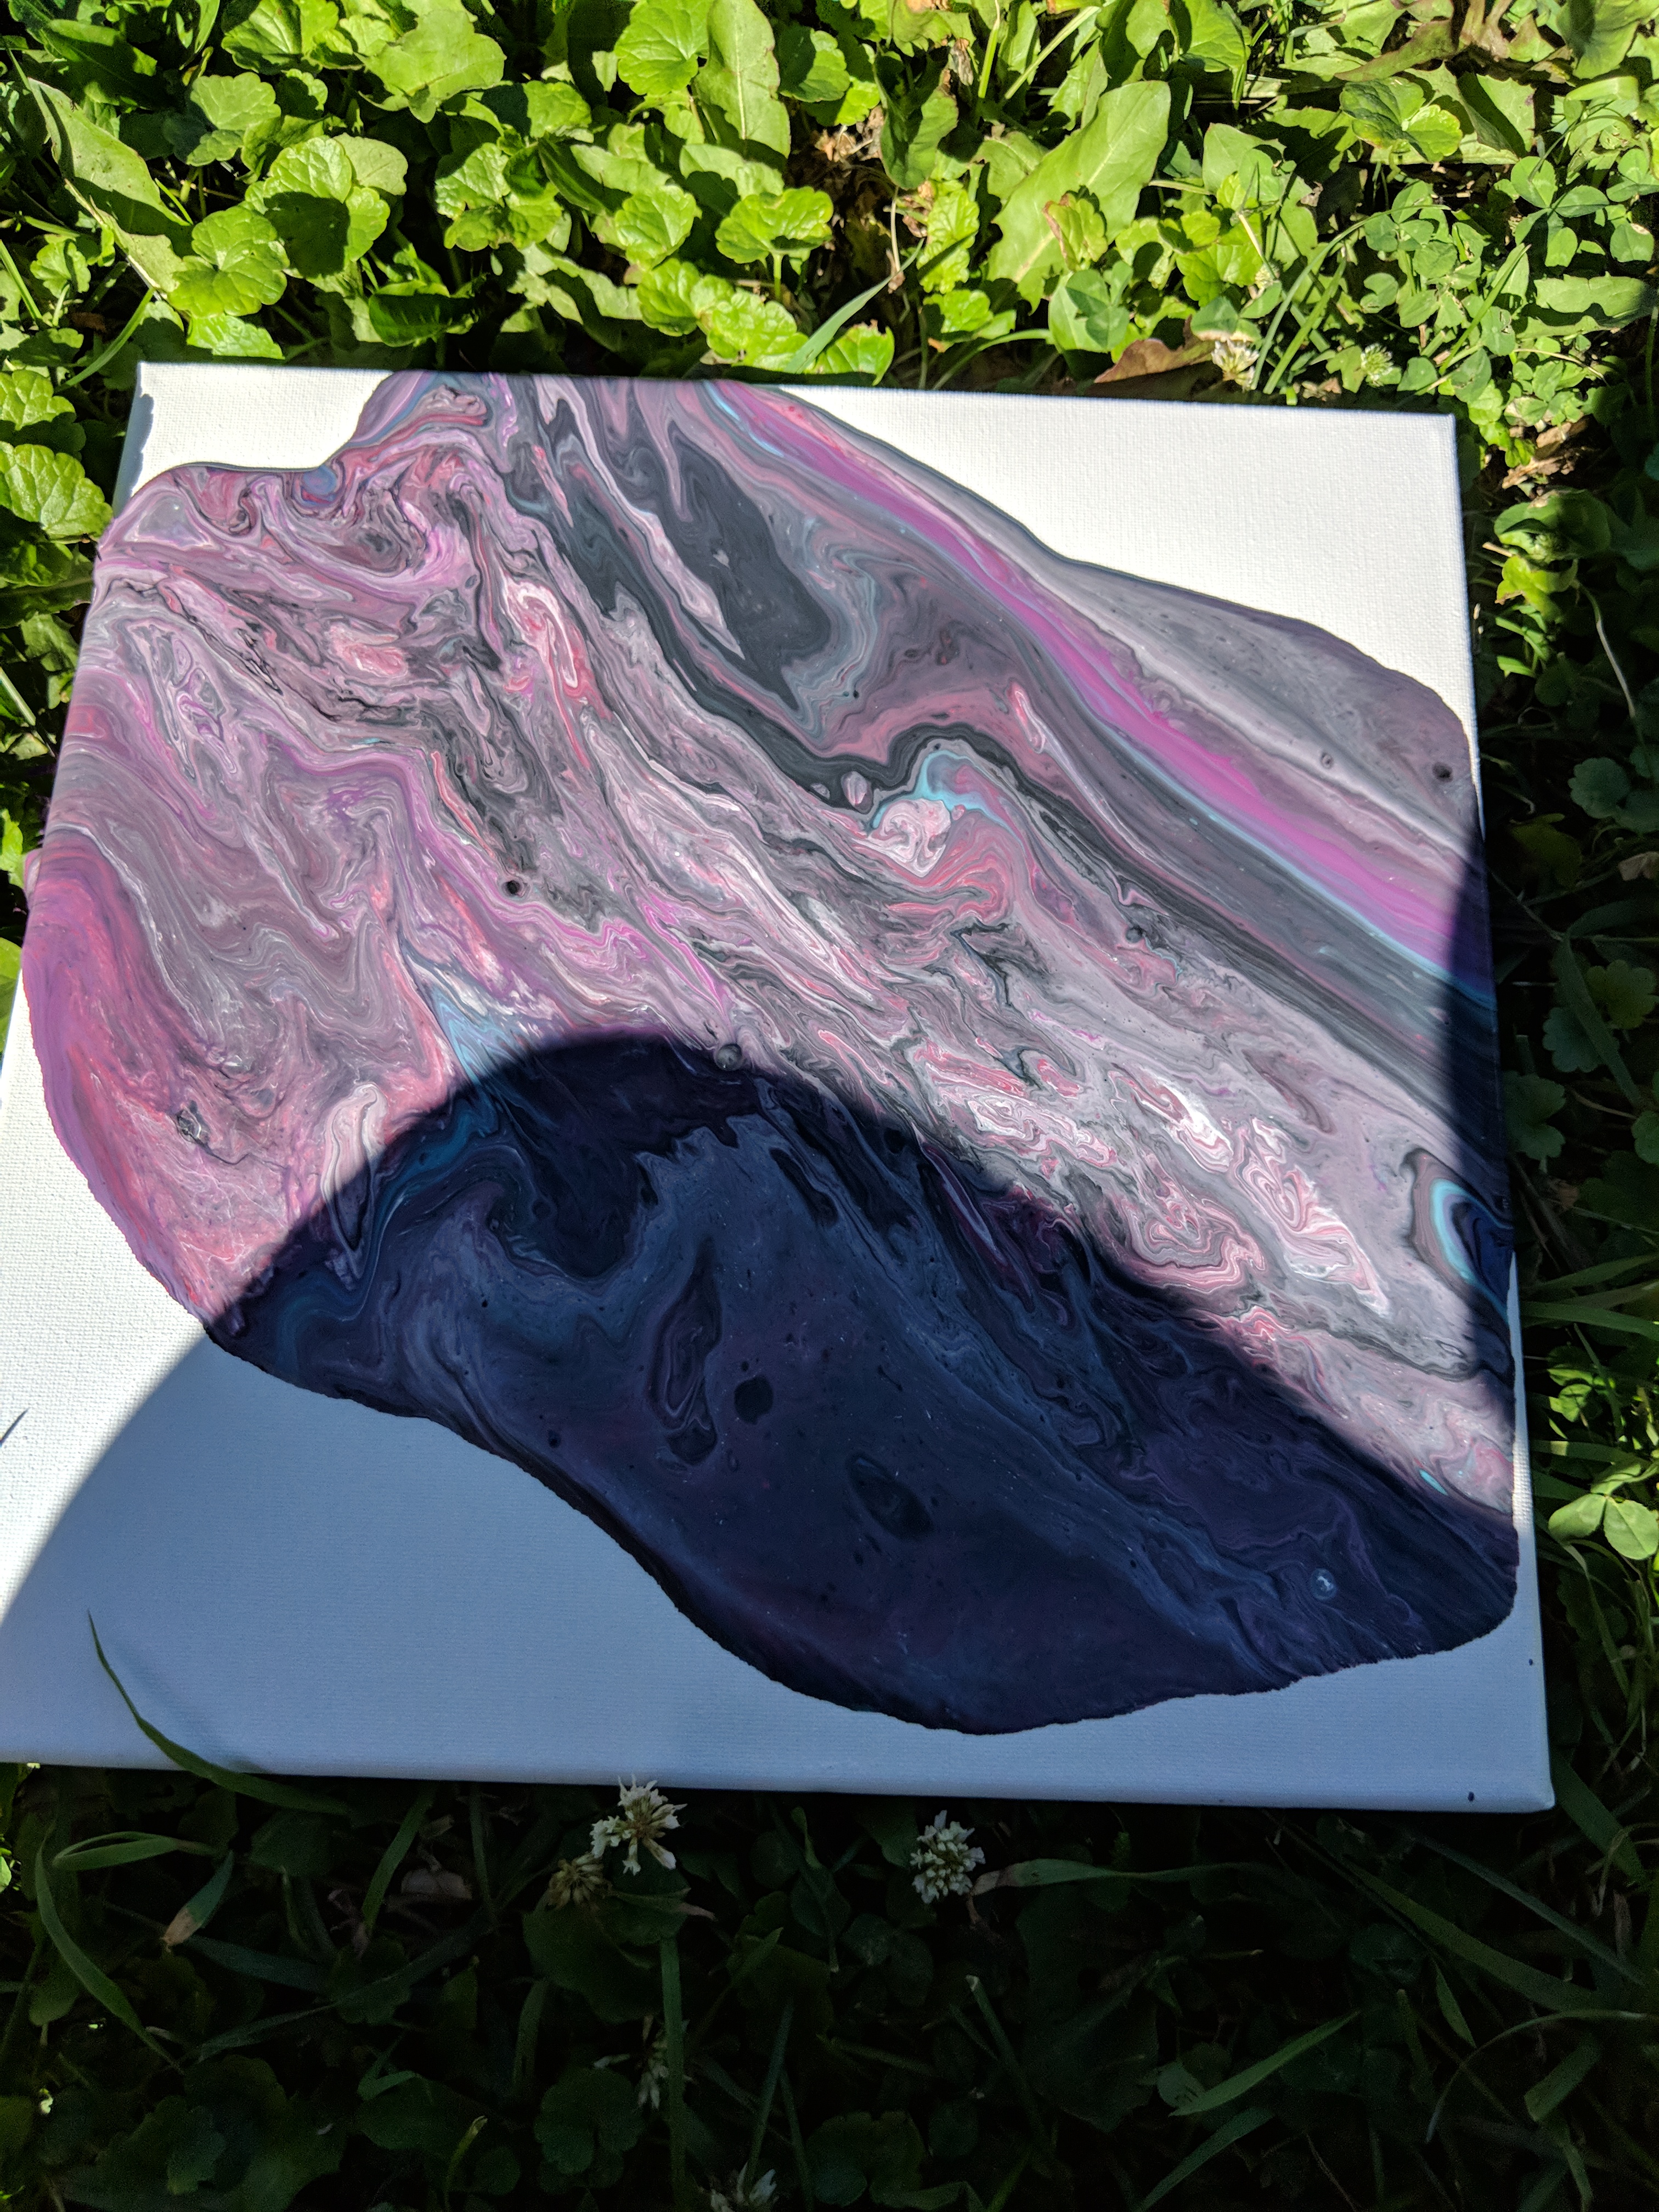
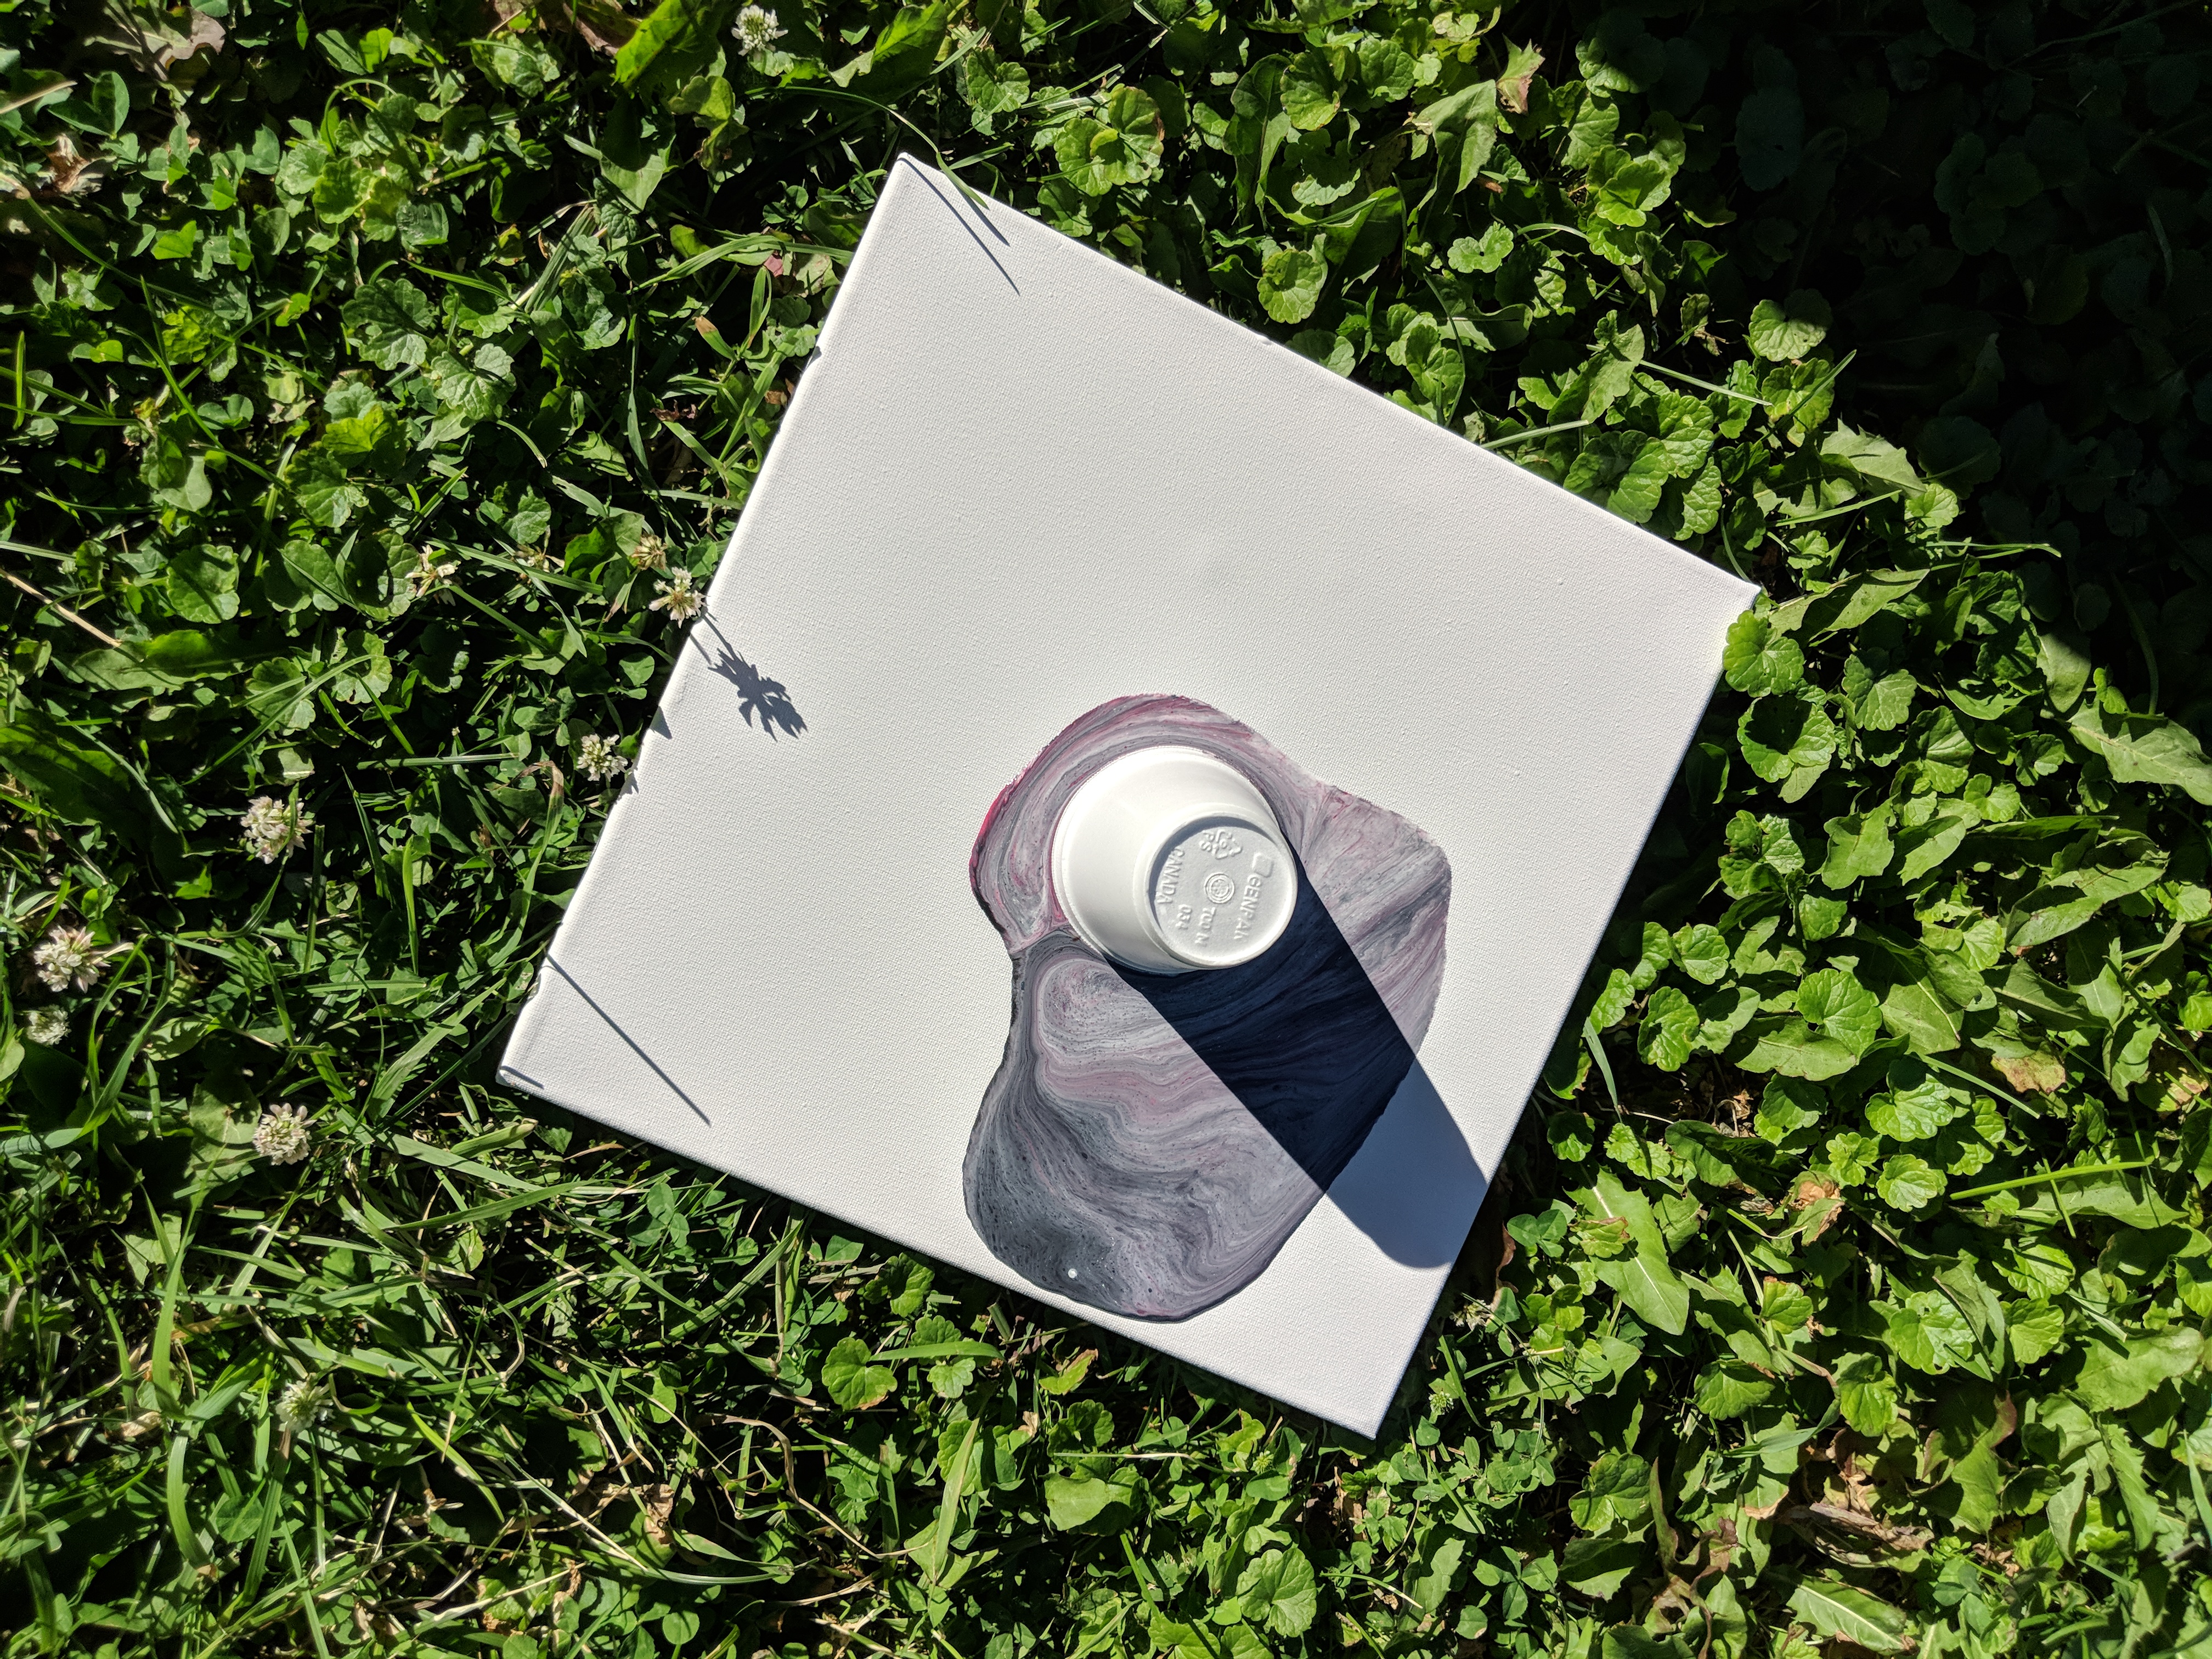
Once you have all your layered colours in your cup, you’re ready to go. Give yourself a wide berth of messy room, we do it in the grass. Put the canvas centered on the cup, then flip the cup over. Pull away the cup right away and then start tilting every which way so you can cover the whole canvas. That’s where the messy part comes in! 🙂 It’s a fun messy though, and it’s neat to adjust your colours by tilting.
And that’s it – let it dry and you’re good to go.
 We are by no means pour painting experts – but here’s a few extra tips we’ve figured out. Don’t overdo it on the black or super dark colours, don’t try to swirl the cup around on the canvas before you pull it off and don’t drop things onto the canvas after you’re done – like leaves etc. And always have extra cloths or paper towels ready 🙂
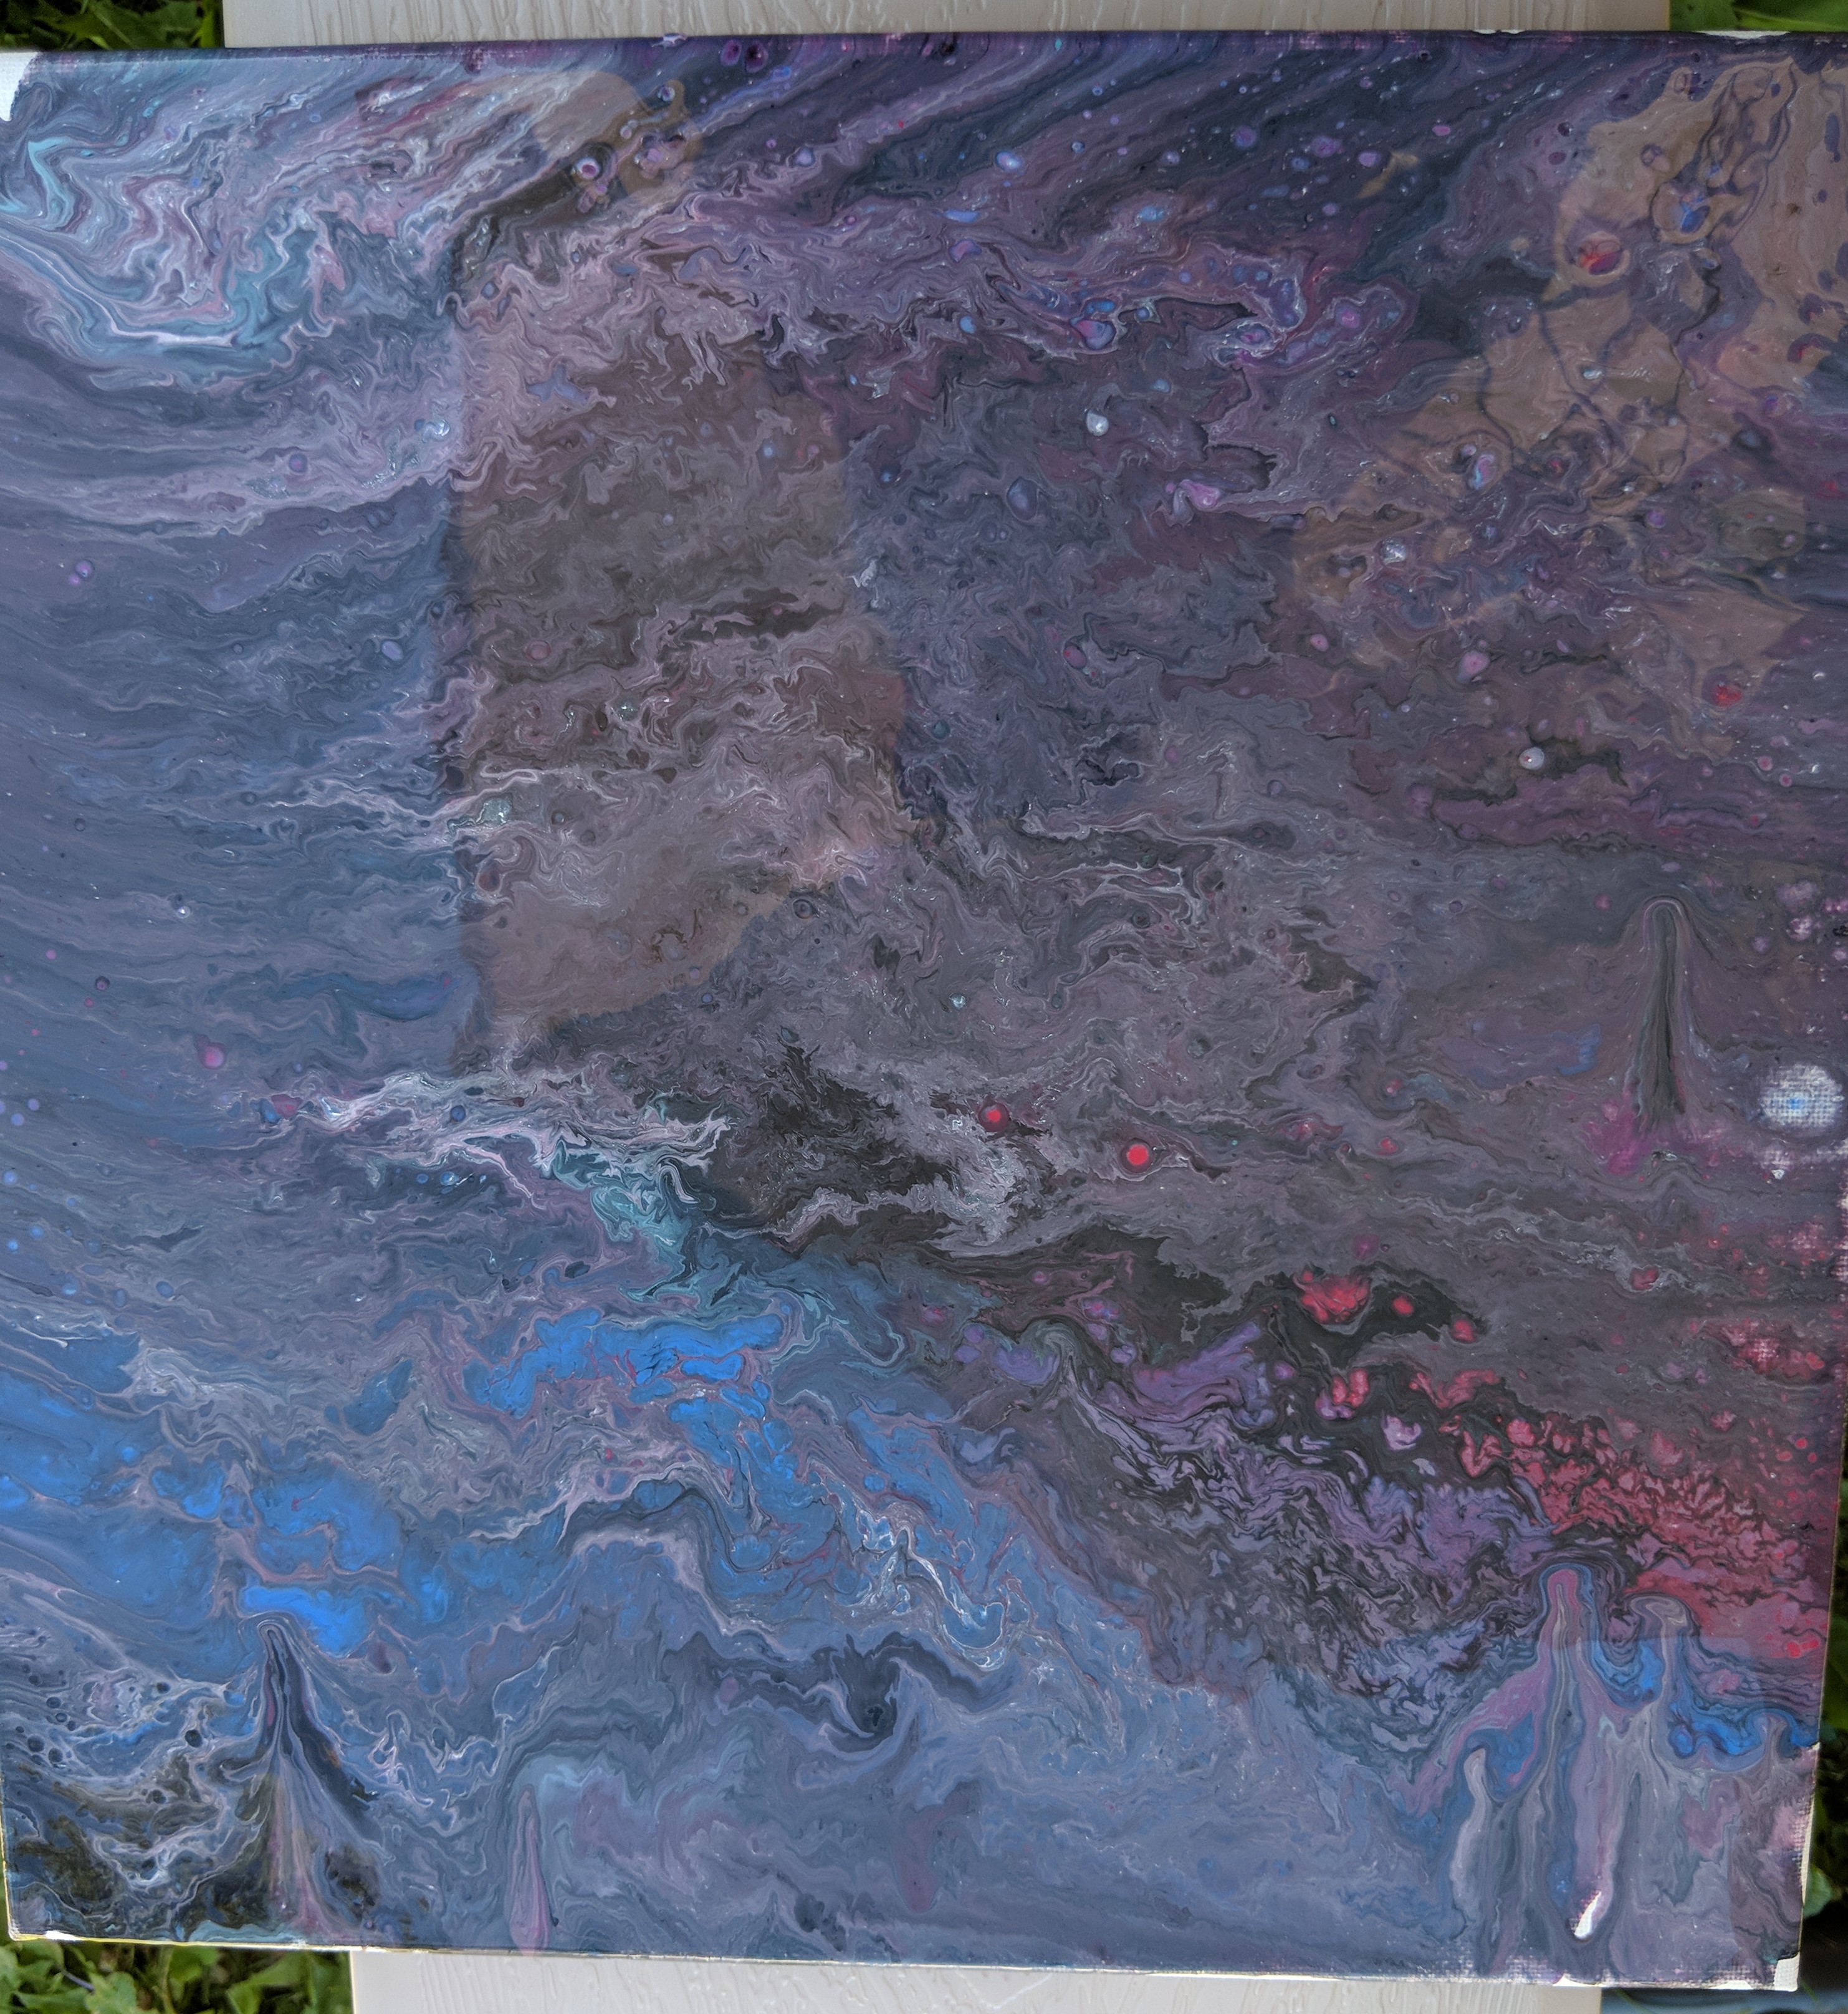
It’s a fun way to customize a picture – you can use it as a background and paint something on it – like if you did blues and white and then painted on an ocean scene. Or you can do galaxy type ones and add some glitter, or even match them to the room they’re going into etc.
Just have fun with it and experiment – if you don’t want to waste 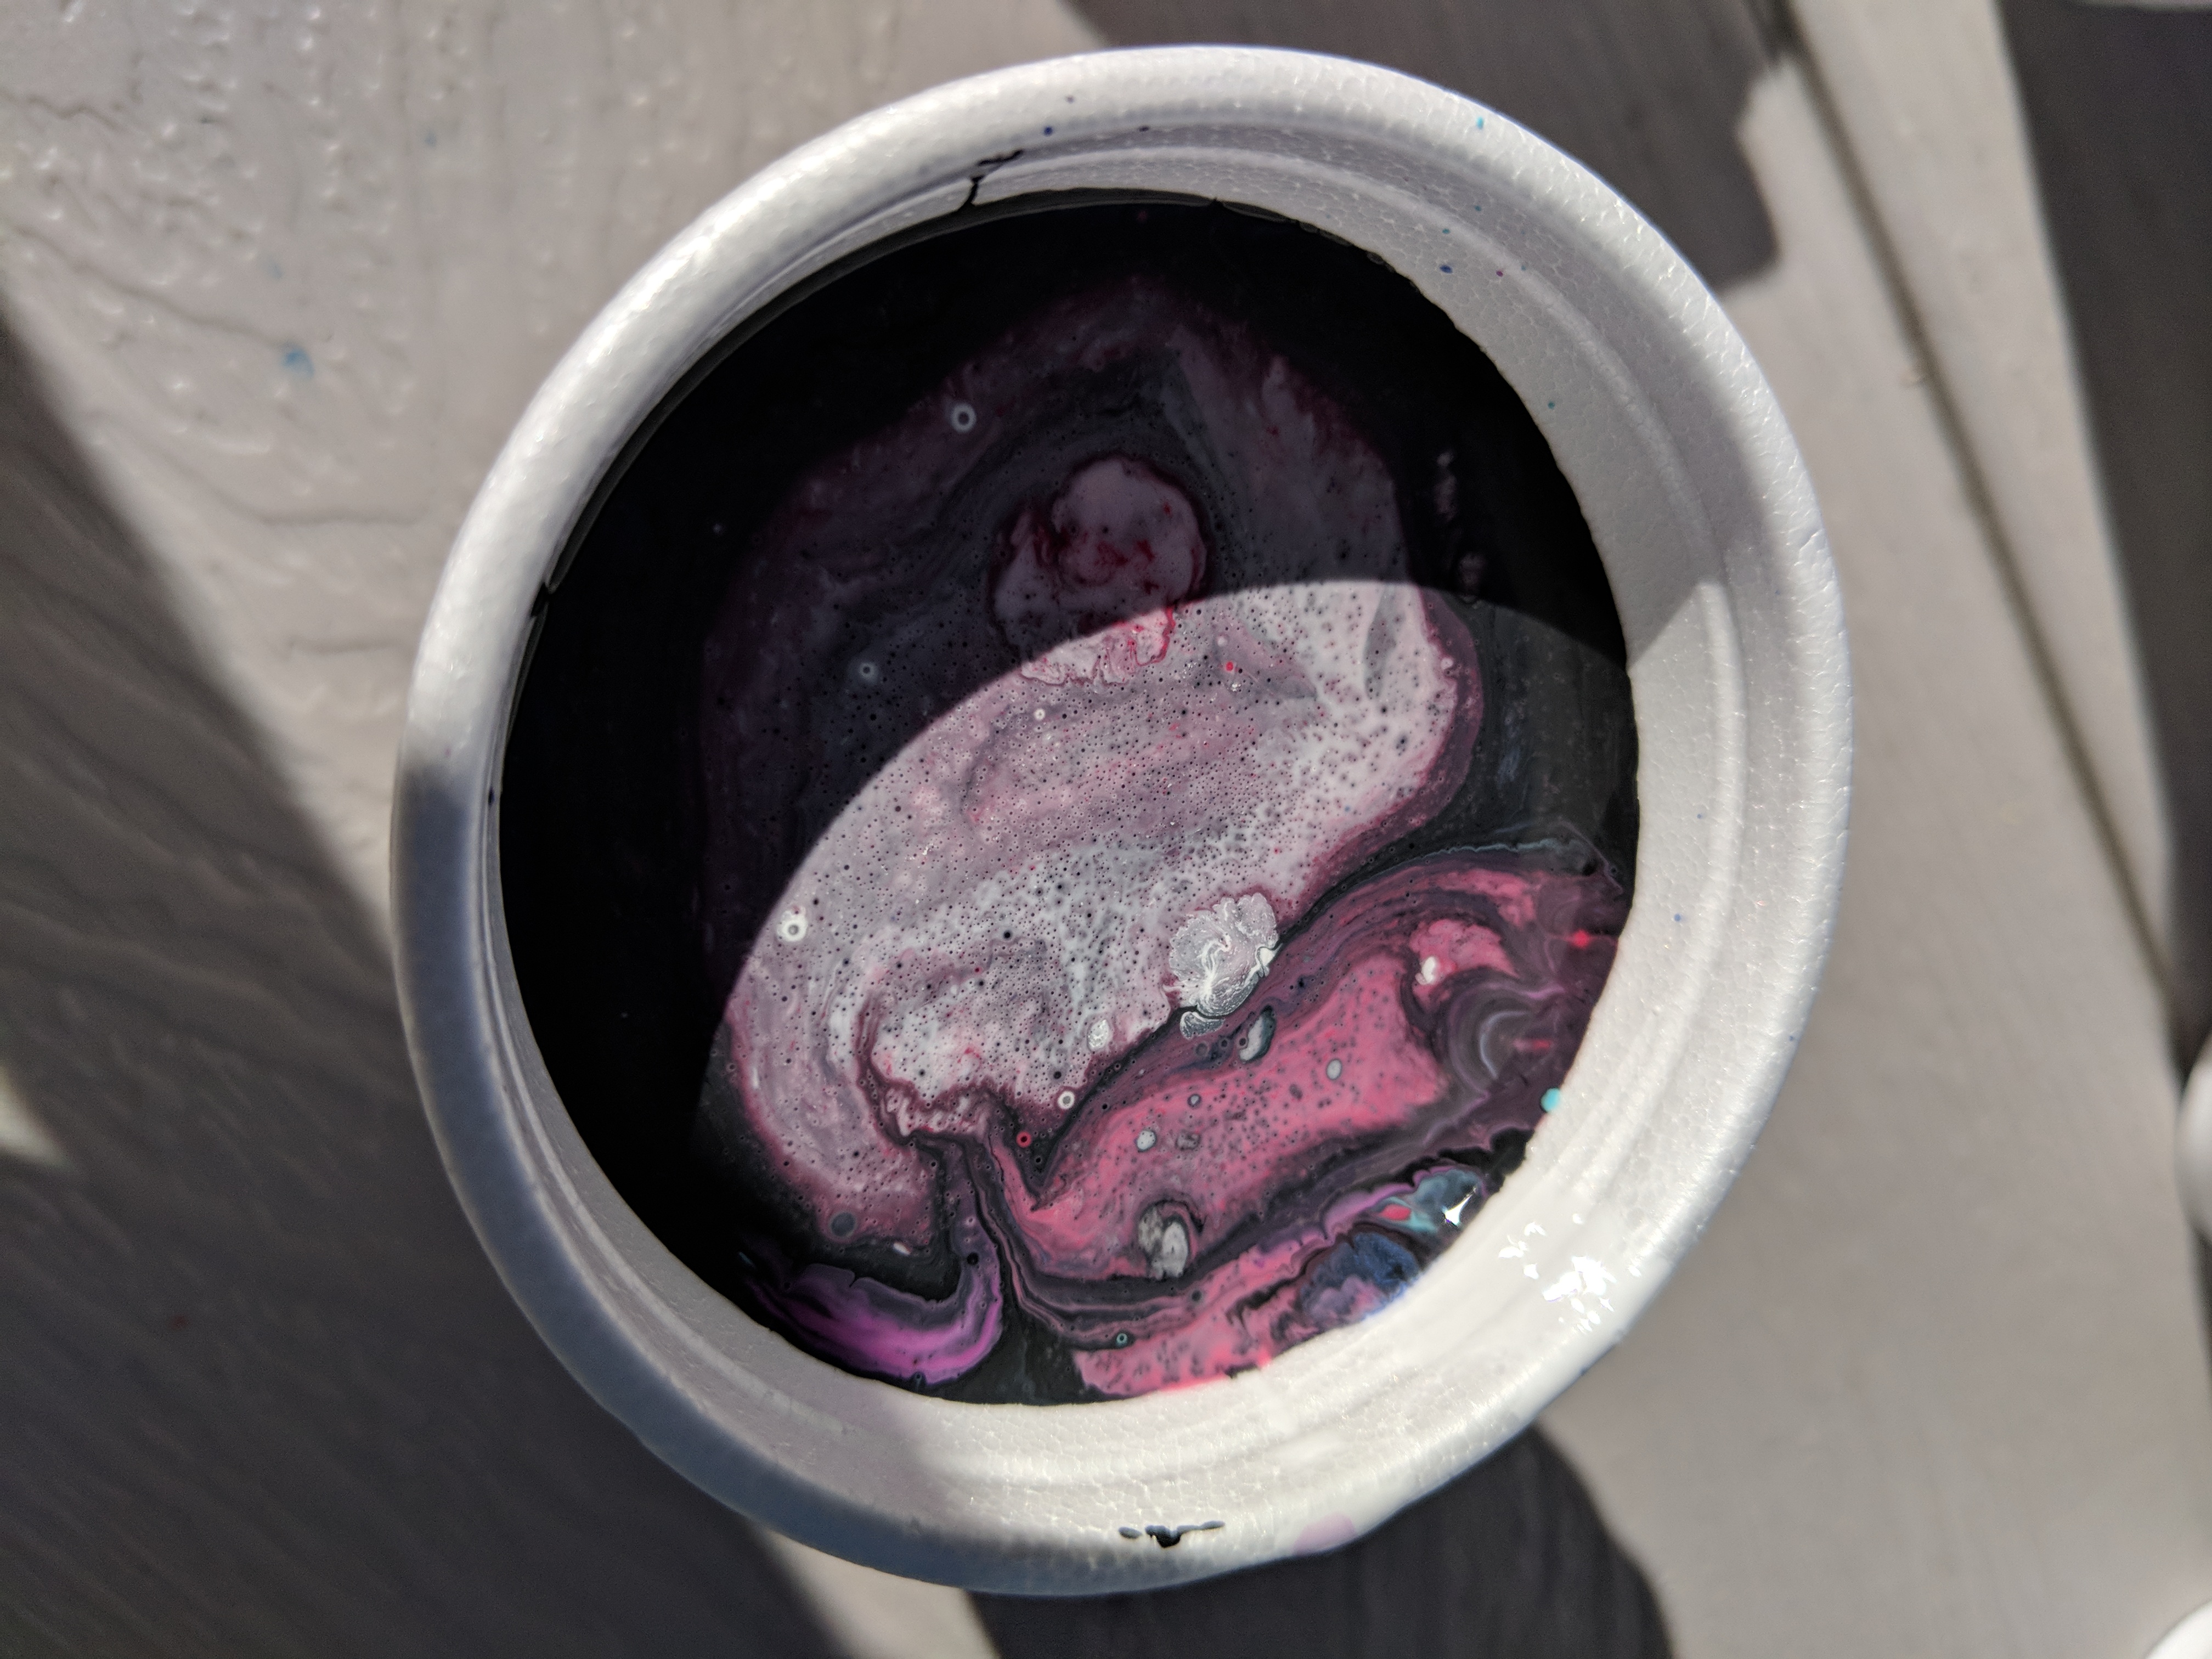 canvases at the start, just try doing it on paper taped to cardboard, that’s a good idea if you’re doing it with a big group of kids too.