Make your own Water Blob - Hours of fun for under $20!
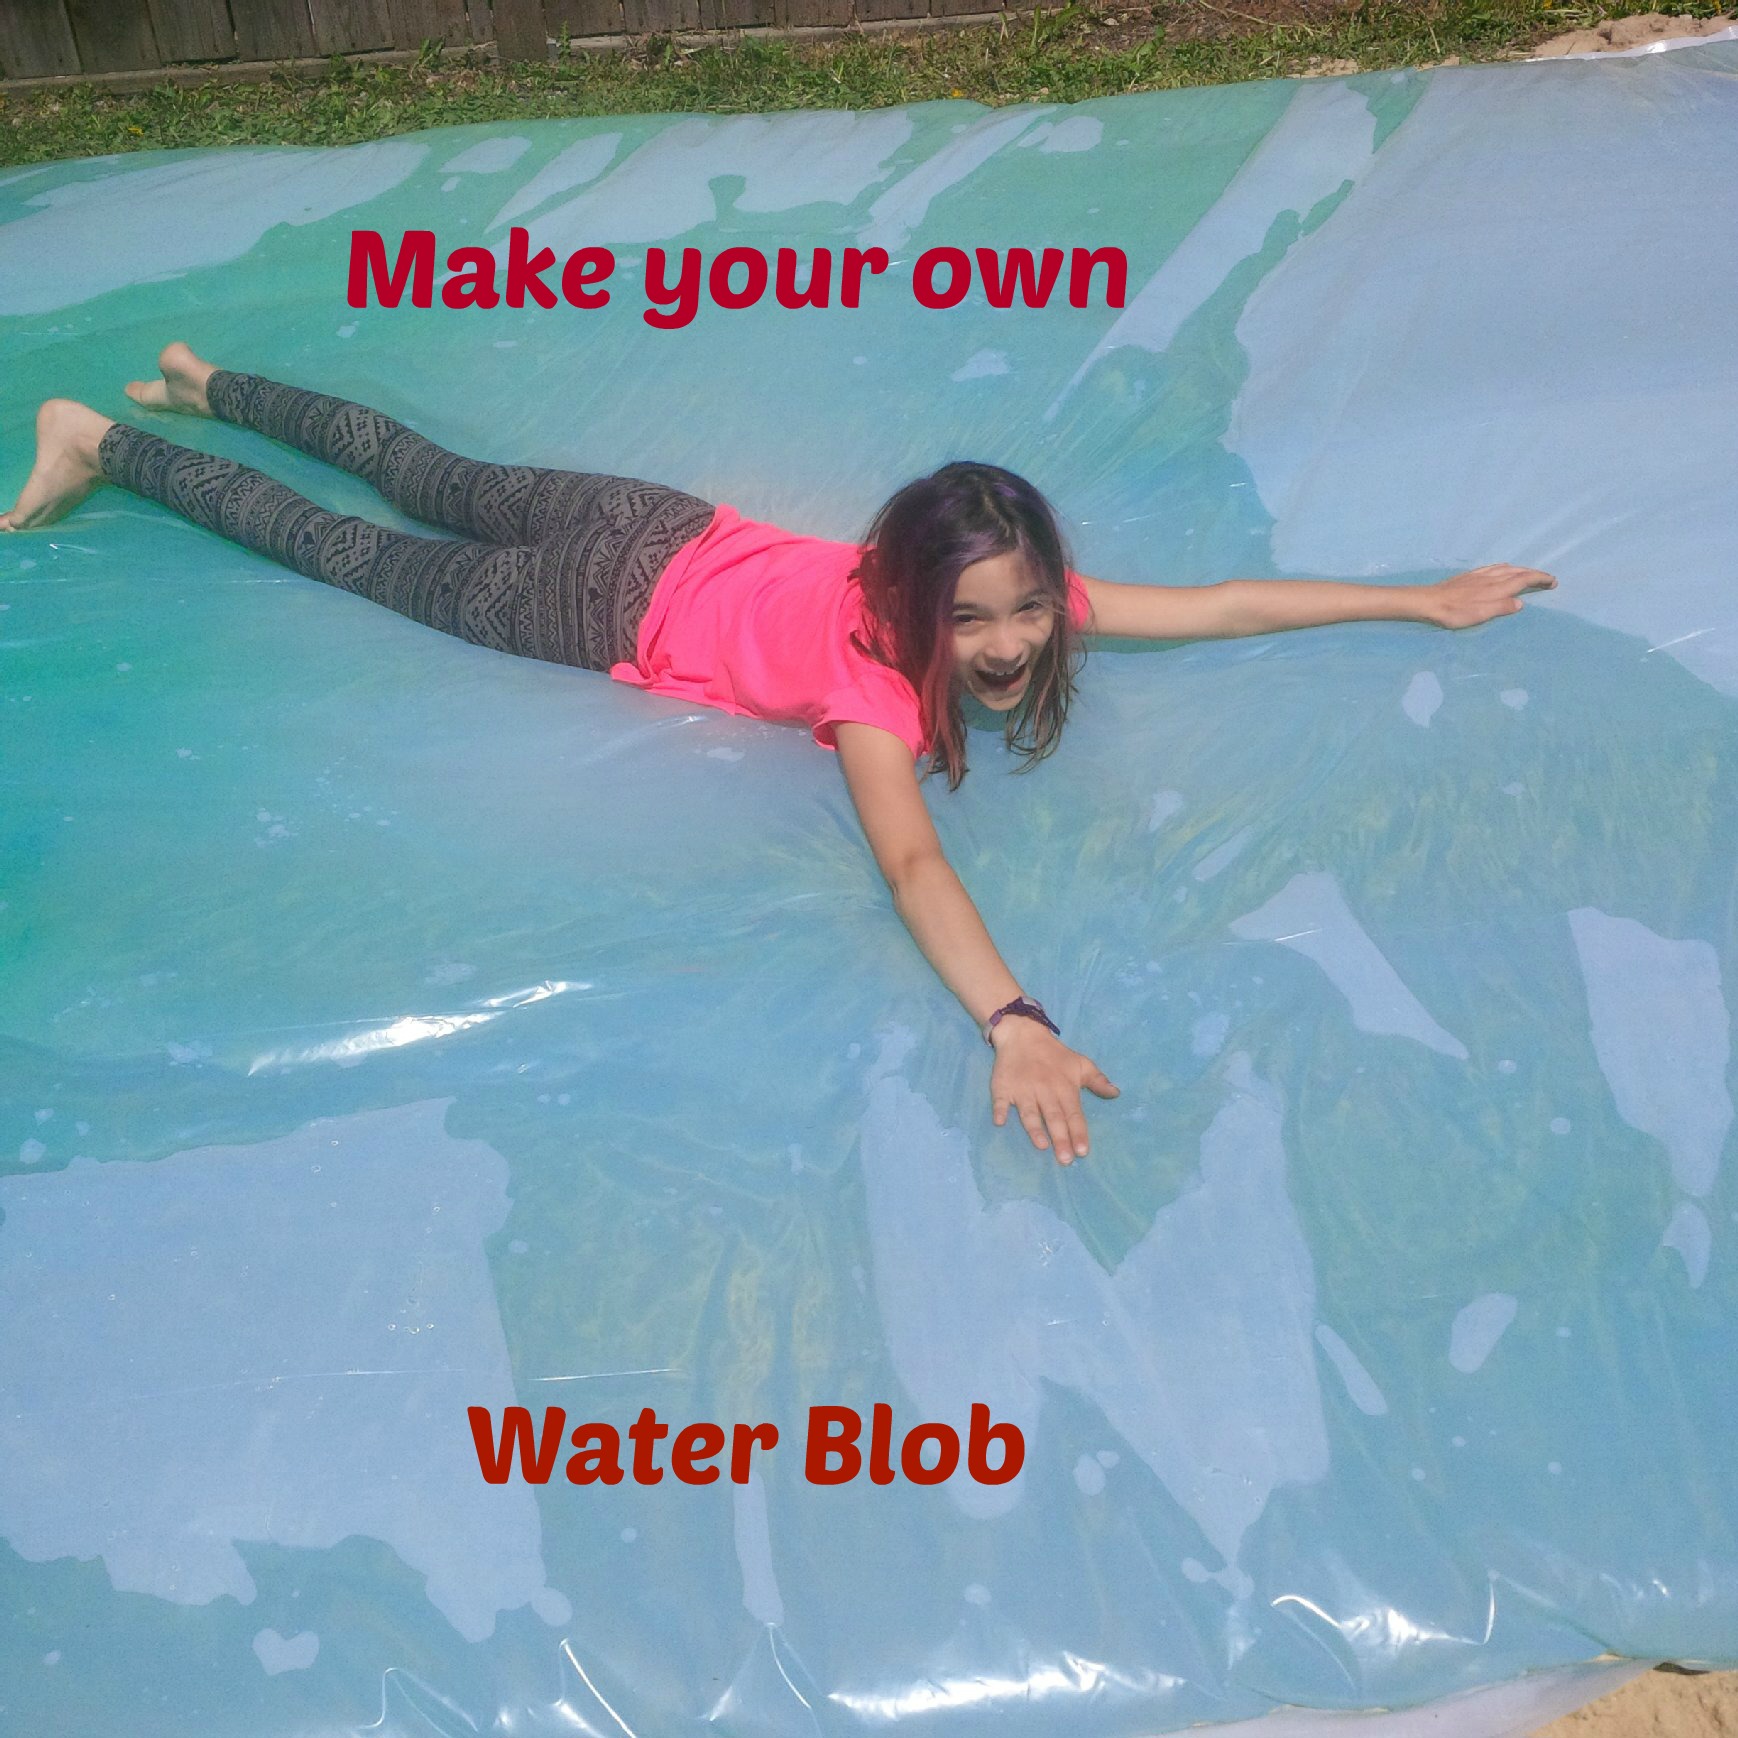 If you’re looking for something fun to keep kids busy a Water Blob is a great idea!!
This is perfect for days when it’s not warm enough for the pool or sprinkler – but also perfect for younger kids you don’t want to risk actually going into the water. And there’s no mess or getting wet so perfect for any time!
It’s pretty easy to do – but as my husband said as we were making it…People on the internet lie a lot! 😉 We watched several tutorials and it’s not quite that easy – but close.
We started with a sheet of plastic that was 10 feet by 25 feet – and it’s 3.5 mm thick which is the important part. You can make it any size, just make sure you don’t buy the thinner plastic. These rolls are easy to find at any store and the going price for that size seems to be $13. The only other things you need are some duct tape, an iron and make yourself a guide with a piece of parchment paper 2 inches wide.
Give yourself a lot of room! It’s easy to iron, it’s just time consuming moving it around if you’re making it extra big. For a smaller one it would probably just take 15 or 20 minutes to do, for one this large it took us about an hour once we figured it out. Just fold it in half and you’re ready to go.
 It’s actually a lot easier and more forgiving than you’d expect once you get going. The only thing to remember is – DO NOT let the iron touch the plastic without the parchment! I did this at the start but it was easy enough to repair, just sealed it wider there. Since we made ours so large one side was uneven but we just folded it over a bit and it’s just as good.
Take your time, do a section at a time, it only takes a few seconds to iron it shut. And remember to leave an opening for the hose – you should probably mark that before, makes it easier once you’re done to find it too.
Once it’s all ironed, take a few minutes to pull the seams a bit to make sure it’s all fused together. Better to spend a few minutes then, than to have leaks later.
Another big thing is to pick a spot in your yard that is very level – we live at the top of a little hill so the first spot we chose didn’t work. We moved it over and it filled up nicely.
Stick the hose in the hole you marked, throw in some food colouring if you want. I premixed mine since we use gel in water bottles and dumped it in as we went along.
Turn on the hose and wait! 🙂 It takes quite a while to fill this size, but it’s a good time to keep adjusting it and check for holes. We had one tear at the bottom right away from moving it around, duct tape fixed it right up.
 Once it’s filled up take out the hose and fold over that part and duct tape it like crazy.
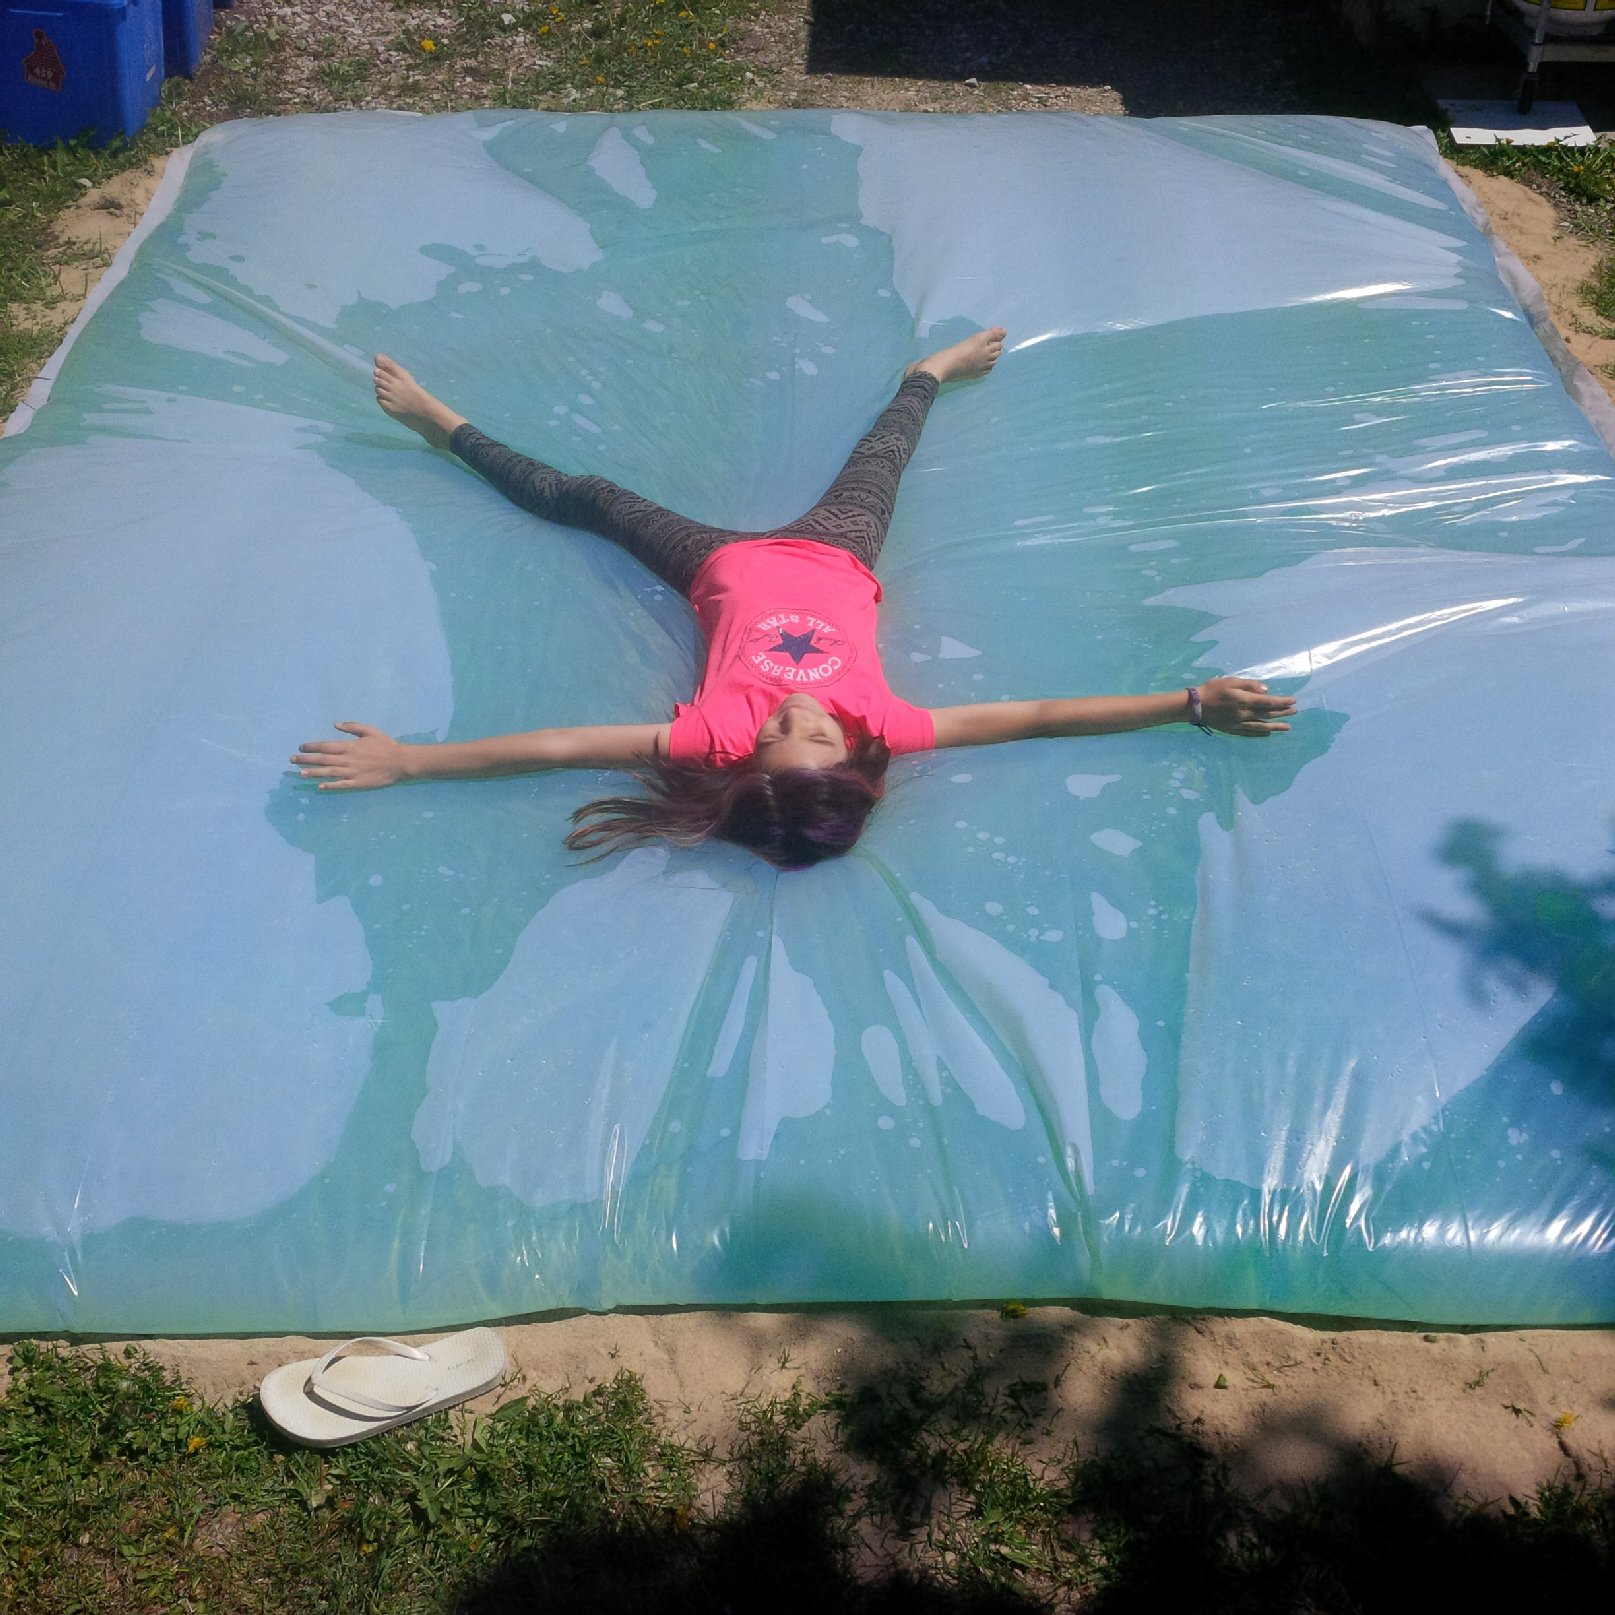
It’s super fun and we had 2 adults and the kiddo on it and it’s like a giant water bed!
Make sure you’re wearing clothes with no snaps or zippers or any jewelry etc. that could tear it up.
If it does tear just tape it up. Keep the roll close by just in case. So far the only leaks we’ve had are from where the hose went in, just had to tape it up more.
When you’re done you can empty it out and store it safely and reuse it as many times as you can before it’s mostly duct tape.
This is a great, cheap project – something fun for all ages and actually pretty fast and easy to put together.
This one gets a thumbs up from our family!